
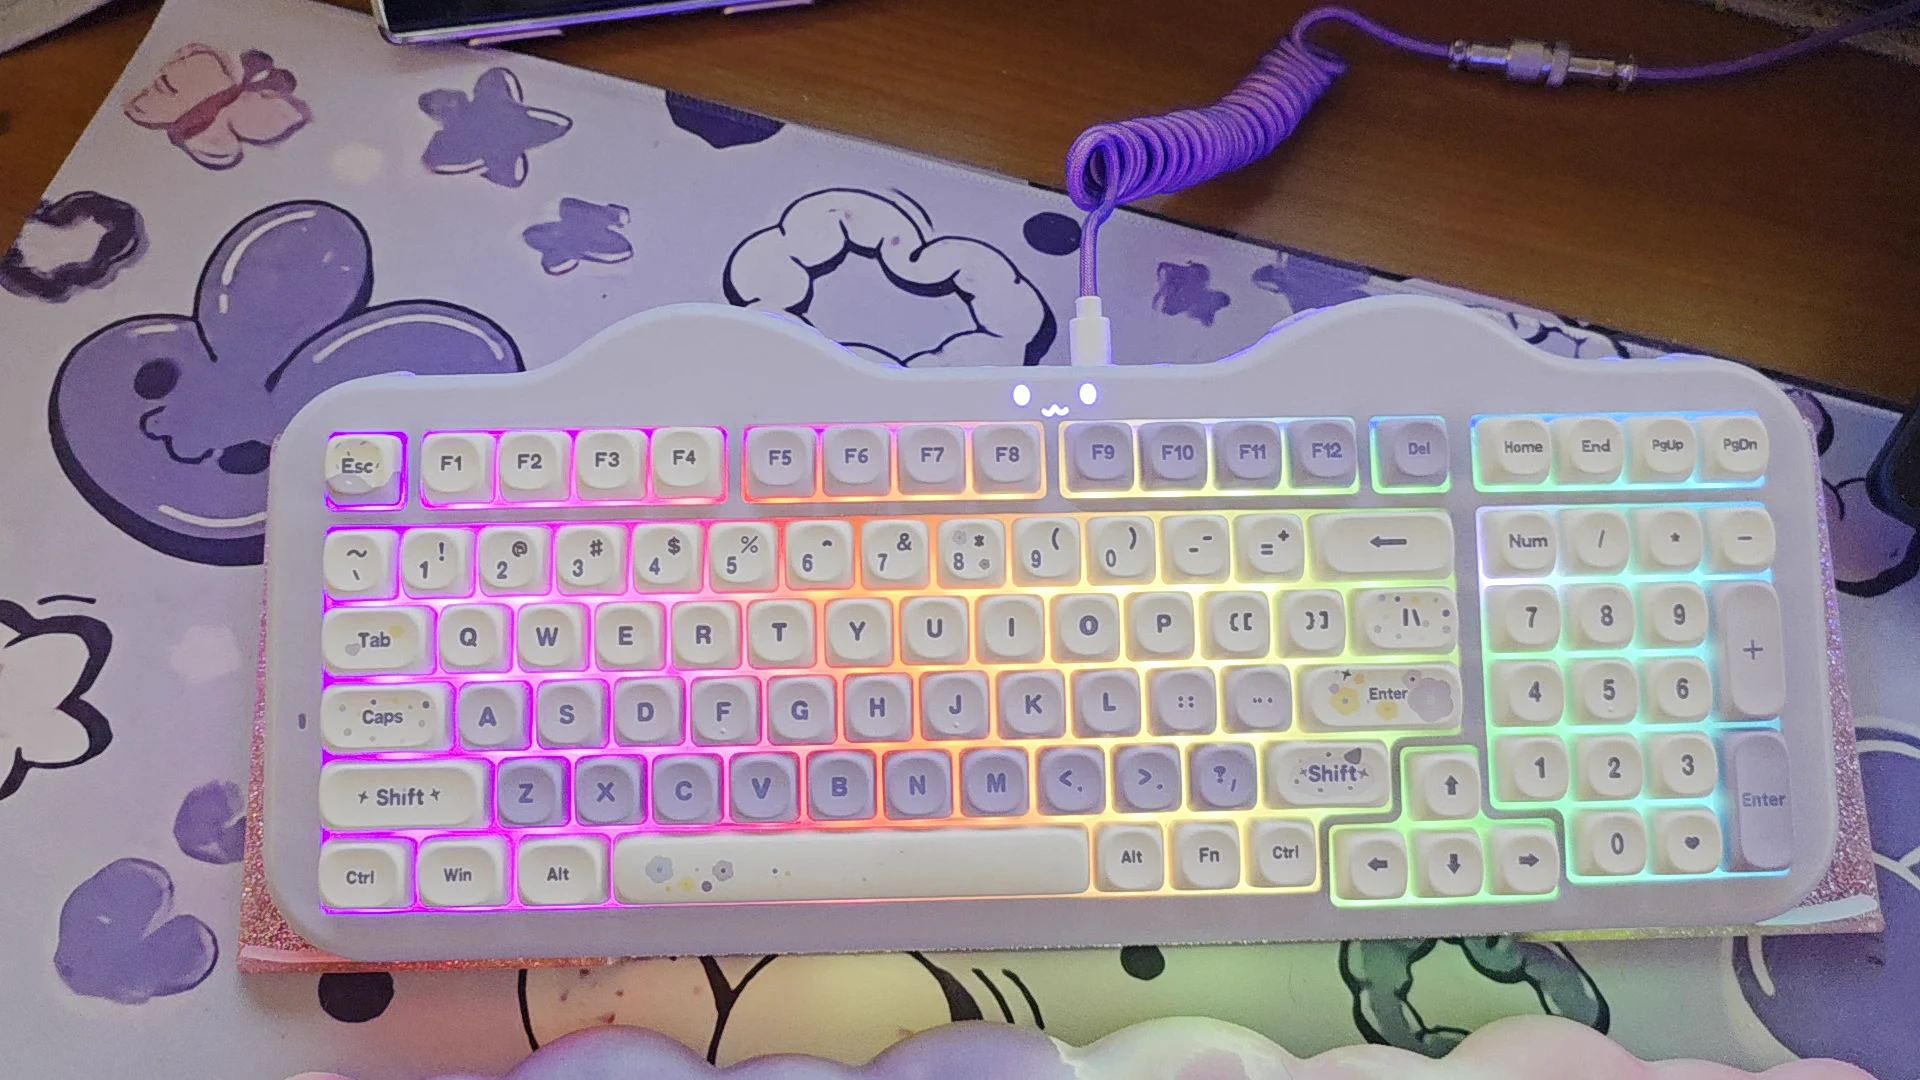
I can film a product in considerably less time than it takes me to turn that footage into a video anyone should be expected to watch.
The filming part feels productive. I can show the keyboard, zoom in on the details, record the sound, talk through what I noticed, and capture three versions of the same shot because apparently the third one needed slightly more enthusiasm.
Then I open the footage and discover that I have created a small documentary series about one product.
CapCut is where I turn that pile of clips into a Shopping Guru video: choose the useful takes, tighten the pacing, show the product clearly, add the information a viewer needs, work through the sound, and prepare the final piece for TikTok.
I use AI tools in that process, too. But I do not hand over a folder of footage and accept whatever comes back as destiny. The software can help me find a starting point. I still decide what accurately represents the product and what belongs in the final story.
My goal is not to make the product look more impressive than it was. My goal is to make the real experience easier to see.
CapCut Is My Finishing Room
My Shopping Guru videos often begin somewhere else: with product footage from my phone, a close-up of a feature, a typing test, narration, or a group of clips that need a responsible adult.
CapCut is where those pieces become one video.
I have used it for product-video editing and keyboard videos, including the less glamorous work that makes a short video understandable: trimming clips, zooming into product details, adding feature text, choosing transitions, balancing music and original audio, working with voice, designing covers, and preparing the finished video for TikTok.
That combination matters to me because a product video has more than one job. It should move quickly enough to hold attention, but it also needs to give the viewer time to see what I am talking about. If the keyboard sound matters, the music cannot march in wearing boots and flatten it. If a feature needs explanation, the text should help—not compete with the product for the title role.
My Actual Product-Video Workflow
I do not use one rigid sequence for every video. A keyboard sound test and a fast shopping find do not need identical edits. But the work usually moves through the same practical decisions.
1. Start With the Footage I Actually Have
I bring the usable product clips into a project and look at what the footage can honestly support. That sounds obvious until the most visually attractive clip fails to show the feature I am discussing—or a close-up reveals that the product name is upside down.
I am not trying to force every recorded second into the edit. The camera roll does not receive a participation trophy.
2. Use AI to Help Find a Starting Point
I have used CapCut’s AI-assisted clip-selection workflow, including EditPilot, to help work through footage. That can be useful when I have several takes or a longer recording and need a first pass.
The important words are first pass.
An automated choice can be technically clean and still choose the wrong moment. It does not know that a particular angle best shows the keyboard profile, that one clip contains the most accurate explanation, or that the original product sound needs room to breathe. I review the result, restore what matters, remove what does not, and make the final decisions myself.
3. Build the Story Around What the Viewer Needs to See
For a product video, I want the visual evidence and the words to agree with each other.
If I mention a connection switch, I want the switch on screen. If I talk about the shape of a keycap, a wide beauty shot is not enough. I may zoom or crop product footage so the relevant detail is actually visible, but I do not reshape the product, change its color, erase a label, or make a feature appear that was not there.
This is one reason I use feature text selectively. A short label can orient the viewer while the footage demonstrates the point. An entire paragraph floating over the product is usually the video’s way of asking to become an article.
4. Let Transitions Support the Edit
I use transitions when they help the video move between ideas or shots. I do not need every clip to arrive through a portal.
A simple cut is often the right answer. A transition earns its place when it improves the flow, covers an intentional change, or supports the rhythm without distracting from the product. The effect should not become more memorable than the thing I am reviewing.
5. Treat Audio as Product Evidence
Audio is not decoration in every Shopping Guru video.
For a keyboard, the original typing sound may be part of what the viewer is evaluating. For a spoken explanation, the voice needs to remain clear. Music can help with pace and energy, but I lower it—or remove it from a section—when the real product audio needs the floor.
I also use CapCut for music, audio adjustments, voice work, and captions. The exact mix changes with the video. The principle does not: sound should help the viewer understand the experience, not manufacture a different one.
6. Add Captions and Check Them
CapCut currently supports automatic captions across its web, desktop, and mobile versions, although availability and options can vary by platform. Automatic is not the same as automatically correct.
I review names, product terms, punctuation, timing, and any sentence that the software heard with unjustified confidence. A caption can be beautifully animated and still be wrong.
7. Create the Cover and Prepare the TikTok Version
The cover is part of the edit because it helps the viewer understand what the video is about before pressing play. I use CapCut to prepare covers and the vertical video presentation, then review the beginning, ending, captions, text placement, audio, and product visibility as one piece.
A finished export is not finished to me until I watch it like a viewer instead of an editor. Editors know what was supposed to happen. Viewers only know what survived the export.
A Keyboard Video Is the Perfect Stress Test
Keyboard content brings nearly every part of this workflow together.
There may be a full-keyboard beauty shot, close-ups of keys or controls, a lighting sequence, a typing test, product narration, feature labels, and a final question or call to action. The edit has to move, but it also has to pause long enough for someone to hear and see the keyboard.
In one of my documented keyboard workflows, the planned CapCut edit included an opening beauty shot, close-ups of indicator lights and controls, a Quick Guide segment, a multimedia-knob close-up, and a typing section where narration and music would step back so the original sound could be heard.
That is the kind of work CapCut helps me assemble. The interesting part is not that the timeline contains several clips. The interesting part is deciding why each clip is there.
What CapCut Currently Offers
CapCut’s current official materials describe editing on desktop, mobile, and the web, with tools for trimming, text, transitions, audio, captions, enhancement, and AI-assisted work. Some tools and plan details vary by platform, region, device, version, and subscription.
That last sentence matters. I am not going to preserve a temporary checkout screen in an evergreen article and call it a universal price. CapCut says current Pro pricing can vary by region, device, and promotion, so the current checkout is the appropriate place to evaluate the cost.
The Editor I Use
I am sharing the tool because I use it. I still review every edit and check which features fit the video I am making.
What I Watch Carefully
Convenient tools do not remove the need for review.
- AI-selected clips still need human judgment. A fast first pass can save time without becoming the final editorial decision.
- Captions need proofreading. Product names and specialized terms are especially talented at confusing speech recognition.
- Music and effects need restraint. A product demonstration should still sound and look like the product.
- Plan and platform differences matter. A feature available in one version, region, or subscription may not appear the same way everywhere.
- Asset rights matter. CapCut’s Trust Center says only templates and materials expressly labeled “Commercial Use” are cleared for commercial use. I check the status of assets rather than assuming everything in an editor carries the same license.
Is CapCut the Entire Video Workflow?
No. It is the place where I bring much of the edit together.
The product experience still comes from me. The footage still has to show something useful. Claims still need evidence. Music cannot fix weak product information. AI cannot decide whether an opinion is honestly mine.
CapCut helps me turn raw material into a watchable Shopping Guru video. That is a substantial job. It is not every job.
My Bottom Line
CapCut gives me one place to make the small decisions that turn product footage into a finished video: which take stays, where the viewer needs a closer look, when text helps, when music needs to quiet down, whether the captions are correct, and what the cover promises.
That does not make editing effortless. It makes the work more manageable.
And when I open a folder containing fifteen minutes of footage for a video that will last less than one minute, manageable is a very attractive feature.
Helpful resources
The same caution applies to features. CapCut changes. A tool may move, receive a new name, require a different plan, or roll out unevenly. For current specifics, check CapCut’s official guides to desktop editing, automatic captions, and current Pro pricing.
If you’re curious about the editor I use, you can take a look at CapCut here.
Editorial promise: Recommendations remain independent.